Archive for
Making a lightbox
I have decided that this year I am going to teach myself proper lighting and have a set up in the garage for portraiture.
At the moment the garage has our car on one side and furniture from a friend on the other – and so this plan is going to be slightly delayed whilst we sort out what should eventually be the empty side.
As a first step towards understanding metering and strobes/soft boxes etc I made myself a lightbox on Sunday using a cardboard box, cutting the two sides and top out of it and replacing this with thinnish white paper and using a sheet of thicker non-reflective white card inside as a backdrop.
For this first attempt I didn’t have a flash above the box – but just one on either side and used the Nikon F2A with Pocket Wizard remote triggers to get readings for the flash levels. This shows the set up with the meter inside the box and as I had a 50/1.2 on the camera you can see the sides of the box and the side panels of white paper.
After the test shots – which I couldn’t check as I didn’t use digital for this at all – I switched to the subject I wanted to film and the 135/2 lens.
Unfortunately, I had a partially used roll of ColourChrome 100 in the camera and so with the flash on the right turned down and the slave on the left at the only power setting it can work at – the meter wanted me to stop down to f22 on a lens that only goes as far as f16.
As I was using film that I was going to cross, one or two stops won’t make a big difference to the lighting and I just took the shots in the limited time I had. The above is a square cropped result of the Tilt-Shift lens for my Nikon.
Obviously lots to learn here as this is a crossed image (hence the grain and the slight blue colour cast) but I’m liking the result and the small things I have already started to learn about correct lighting in the home made box.
Selective Focus with a Tilt Lens
Finding a Tilt – Shift lens is easy and if you are selective about what you buy; it doesn’t need to be as expensive as you think.
Understanding the geometry involved is not so simple; especially for perspective control and the articles I have found and read since getting my lens have only gone part way to helping me understand the subject.
For that reason I am going to try and explain the somewhat trial and error methods I have applied to learn how to use the lens and hopefully make the subject simple enough to understand for your average user.
What seems to stop many people from moving to Tilt-Shift is the limited availability of lenses, price of the main ones from Nikon and Canon and the ease of “faking” an image using photoshop or all of the apps that you can get for your iPhone.
As this is an Analogue blog you would not expect me to suggest anything other than the mechanical approach and especially as using a Tilt-Shift is going to force you to understand much more about your camera than you’d ever imagine – and that can’t be a bad thing.
The Lens
This is a Ukrainian Lens made for the Medium Format cameras from Kiev by Photex and identical to the Arsat 80/2.8 I have for my Kiev 60 and it is available as new with your choice of 35mm fitting (or even 4/3rds digital cameras).
For my lens, I opted for the Nikon fitting so that I could use it on my F2A (only it didn’t fit until I bought a non metering finder without the overhang at the front for the camera).
It would have been good to know about this before hand as having a flat front to your camera with these lenses is important for them to be able to move freely in all directions. What you have to take into account isn’t so much the square back plate as the two knobs used for the Tilt and the Shift of the lens as this lens also turns through 360 degrees and they need a clear path.
This lens allows 11mm of Shift, 8 degrees of Tilt and 360 degrees of rotation and so you can basically do anything with this lens that the bellows on a View Camera will let you do.
The reason for the Medium Format lens on a 35mm camera is probably quite obvious – it is to ensure the frame is always covered with the lens allowing for the large amount of tilt and shift possible.
If you don’t want to get a dedicated lens and you have a range of Medium Format lenses that you can use on your 35mm camera – you can always buy a cheaper adapter that will generally give you a limited amount of tilt and in some cases a little shift – but generally only enough for a little perspective control and no selective focus of note.
The Lens Baby will also allow good Selective Focus and Hartblei also do some great smaller lenses at 35 and 45mm.
For the first part of this article I am going to talk about Selective Focus as this is the gimmicky part of Tilt-Shift and it is where you will produce your “miniature fake” images.
Selective focus
Selective focus can be used to direct the viewer’s attention to a small part of the image while de-emphasizing the rest of the image.
With a lens pointing directly in front of you – the focus point is not a single point but a plane parallel to the film plane. This means that if you are using a focal length of 5 meters and your camera is on a tripod pointing directly ahead – that everything 5 meters in front of the film plane is in focus – irrespective of height.
You would image that this focal plane would be concave but compound lenses are very good at righting this effect and keeping the focal plane flat.
Using the Tilt on your lens, say full 8 degrees tilt and keeping the camera on the tripod pointing directly ahead will give you a small wedge shaped focal plane.
Combine this with the widest aperture you can for your lens and you will get a very small and angular Depth of Field (area that is in focus).
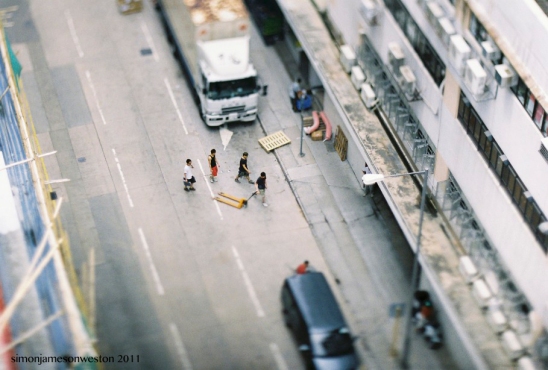
The final part of the trick to getting miniature fakes is to be above the object you want to minaturise by somewhere between 30 and 45 degrees.
I have read on a few sites that B/W Selective Focus doesn’t work – but I guess it depends what you are looking to achieve. If you want to shoot vehicles that look like toys – then bright primary colours will fit this better.
You will also note from the above shot that people do not minaturise as well as simple shapes – buildings, cars etc but again if you want to selective focus just to get an image like you have seen elsewhere – then perhaps an app is going to suit you better.
The direction of Tilt is incredibly important and it is very counterintuitive if you want to miniaturise an image.
The above image was taken with maximum Tilt of 8 Degrees, f2.8 and the focus on my wife and friends – but with the Tilt downwards. In this case you will get the selective focus but not miniaturisation.
This one was again taken with the Tilt at 8 degrees downwards but with the lens at f5.6 – broadening the area of angular focus and again with no real minaturisation apart from to the middle sides of the image.
This one is however a good example of what happens when you Tilt the lens upwards by 8 degrees and open it up fully to f2.8 and shoot at infinity and 30 degrees.
When the lens is Tilted up to maximum it also means that the area of sharp focus is just above the half way line – important to know when you are trying to get a particular image.
If you shoot too vertically you will not get a great miniaturisation either (and this is the below image – taken from the roof directly to the road underneath) and to understand this fully you need to start to understand the Scheimpflug Principle – named after Austrian army Captain Theodor Scheimpflug, who used it in devising a systematic method and apparatus for correcting perspective distortion in aerial photographs.
Great books and information on line for this subject center around the View Camera and I will hopefully attempt to simplify some of this when I talk about Tilt for Perspective Control in a later article.
As I said above – this is only a little area of what a Tilt – Shift lens can achieve and is not how most of these lenses have traditionally been used.
Following on from this article (at some point in the future) will be one covering Shift and another covering Tilt for Perspective Control and probably some other about using Selective Focus in other ways than just miniaturisation.
Addendum – 29th August 2011
Night time using Portra 400 film at f2.8 and 1/60th with tilt at +8 degrees.
I think the subject for selective focus is much more important than I had assumed as it just doesn’t seem to work too well on all subjects. Also, shooting beyond infinity on the lens seems to be critical to get the effect to work.
Do you ever take a photo that you want to take again?
Of course you do – it’s pretty universal.
Normally it is adjustments of framing – or perhaps you just didn’t get the best out of the light?
In my case it is almost always composition and this is something you just can’t improve in Photoshop or infact any wiz-bang program.
On Saturday I took a picture of Lola at a birthday party – she was standing behind a ladder in a garden and I wanted a candid photo – so deliberately didn’t ask her to move away from the ladder.
I think I even thought the ladder added something to the shot when I took it.
Having received the negatives back it has turned into one of those moments where I just wish I had improved the composition as everything, and I mean everything in the picture, is perfect apart from the damn ladder….
I managed to get Lola about 15 feet in front of her background – and so the bokeh behind is great.
I used f2 on a 135mm Distortion Control lens with 2.8 rear distortion. The light dappled through the trees creates amazing effects across the sharp as a tack focus on Lola and her fairy crown.
And then there is that ladder…
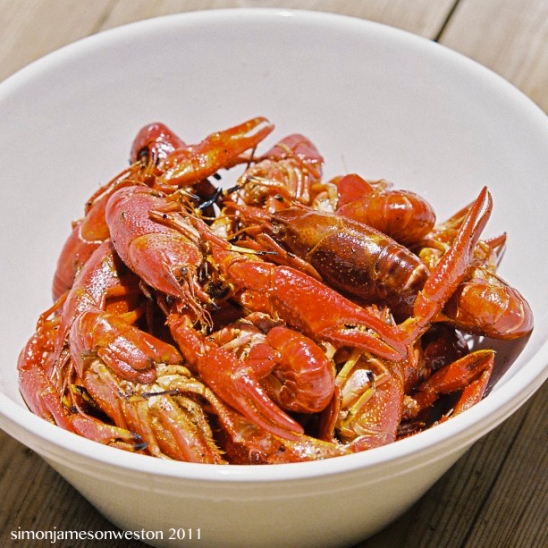
Crayfish in IKEA…
Reading the title you would be justified to think that this was a banner from a sensational news paper about Crayfish infestation at the Swedish furniture giant……..but oh no; you’d be wrong.
It would appear that IKEA now sell marinated Crayfish (the tiny very red ones anyway) as August is apparently the crayfish month in Sweden.
Having looked it up on line (as the shear ridiculousness of it astounds me) they seem to have had a global Crayfish party this month and so for the first time in the history of IKEA – there is a reason to go to the seven levels of hell local IKEA and get some of these babies and throw them on the braii.
Kiev Rangefinders and Jupiter Lenses
If you have read this blog for a while now you will have lived through my constant raving about all Kiev cameras and the 4AM particularly as a 35mm RF.
A quick search on the net will tell you that the Kiev Rangefinder is a copy of the German Contax camera with a very particular bayonet fitting as per the Contax.
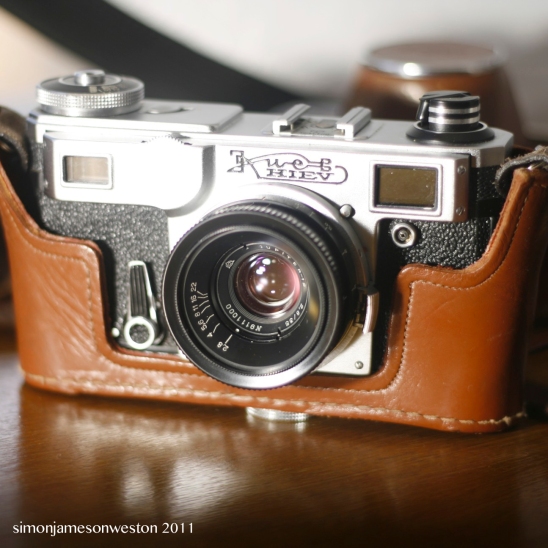
With the standard Helios 103 lens that comes with the later cameras (mine is a 4AM) the bayonet is an internal one but as you can see from the picture below – there is a whole load going on outside the bayonet and this forms the external fitting too that some lenses require.
I think like many people, I didn’t realise that the lugs around the focal distance ring actually were made for lenses and thought this was quite typical clunky and messy Russian design and just part of the heritage of this camera.
So having really fallen in love with my 4AM over the last year (even if you have to meter off camera) I thought it would be great to find a shorter lens for the RF and it just happens that the stunning Jupiter 12 is made specifically for this camera and fitting.
The Jupiter 12 is a copy too and in this case the lens in question is a pre-war Carl Zeiss Biogon 3.5cm f/2.8 for the Contax. The Biogan lens was created in 1935 and has a meniscus at the rear of the lens that reduces the distance between the lens and the film which reduces distortion levels and increases contrast. because it sticks out so far a special case is made for this lens to suspend it and keep the final element scratch free.
The meniscus at the rear pushes so far back into the camera that this lens becomes very specific to the RF that it will fit into whether it is a LSM 39mm thread or the standard bayonet.
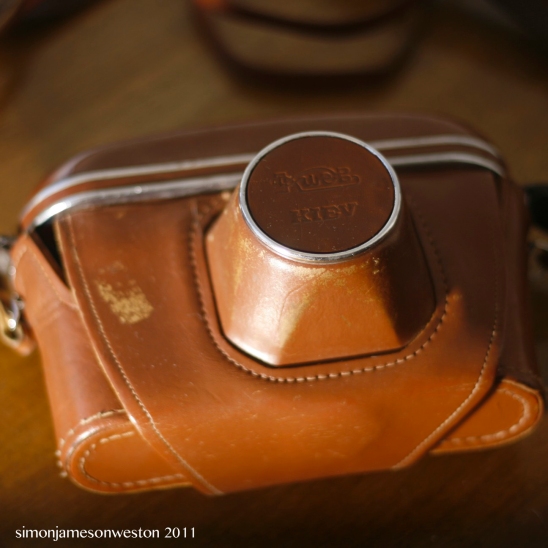
Fitting this particular lens onto the Kiev RF is not however as simple as it should be and mine will fit, focus at all lengths but won’t lock – and this is probably due to the variability of the Russian manufacture of their cameras. This means that when focusing I have to hold the lens in place with my finger – but there is no issue with light leaks or it falling off in transit as I have the original leather case connected to the camera at all times to keep it snug and safe.
Now of course this means I have to meter of camera, be careful not to drop the lens off the front of the camera and estimate the actual shot I’m framing – as this window is a 50mm window and so not as large a view as the 35mm will give. (You can buy auxiliary finders for this lens – but then I’d be carrying another thing around with me – so estimating is fine – this is after all Analogue photography).
So having spoken about how great the camera and lens is – what are the images like?
Here are a few – the first being the classic Jardine House using Ilfords Pan F Plus 50 (as it is so clear and bright here in Hong Kong this month). This has been a good test of contrast and sharpness for me and although this is a tiny grain film at 50ISO – there is no doubt that this lens creates almost no distortion. At f2.8 and focusing at 20m, you can see I was focusing on the left side of the front edge, to get the blur on the right hand side.
The next two feel a little like cheating as they are taken with the new Portra 400 which gives amazing results in good light on any camera. What I love about this lens however is the better than average contrast.
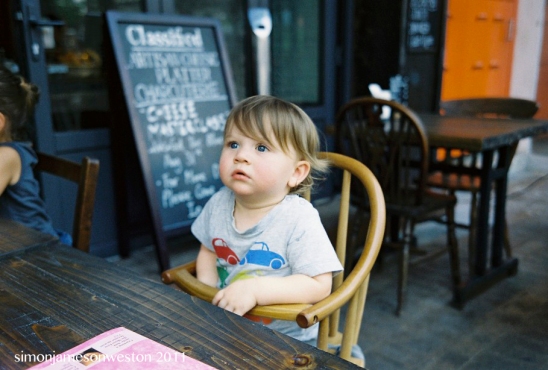
The first one is Cassius waiting for breakfast in Sai Kung with f2.8 dialed in as the area was in shade and the second one is 5 minutes down the road from our new place in Clear Water Bay in shocking bright sunlight at the end of the day.
Over time I am finding that I am using the same Cameras for most things I do and so I am not going to pretend that I am going to drop my Voigtlander Range Finders in favour of the Kiev 4AM completely – but I am going to be using this camera with the Jupiter 12 more often than the stock Helios lens.
The Jupiter 12 is a stunning piece of history and such a beautiful lens that you can’t help but fall in love with it. If I could fit it to a Voigtlander (not possible due to focal lengths) then I would be using it continually.
If you have a bayonet fitting FSU Contax copy – then do get one and perhaps it will lock on your camera as this is down to the luck of the Russian Gods.
…and finally on Koh Samui
I realise that with work, travel and moving house that I haven’t really managed to be particularly good at finishing the Koh Samui articles I promised and still have some outstanding experiences to share.
I thought that I’d put one final article together with what worked for us and what didn’t rather than drag on. This is a short list of only three places that all garner lots of publicity on the Island and abroad and my views are only how we found them at the time.
The Beach Republic
This is a hotel complex past Chaweng on the East Coast (about 40 mins drive from our villa at the top of the Island) and has the same sort of feeling as Ku De Ta in Bali yet more room and less attitude.
The rocky erratics at the beach front and on the beach are more like the Seychelles than Samui and what makes this better than Ku De Ta to spend a day at, are the two pools – one rectangular and deep and the other shallow for kids and adults to chill.
It has day beds, a DJ playing the usual Balearic Chillout tunes and great staff/food and is also not on Chaweng Beach so it is much more relaxed and spacious with a crowd both made up of people staying in the villas and day guests.
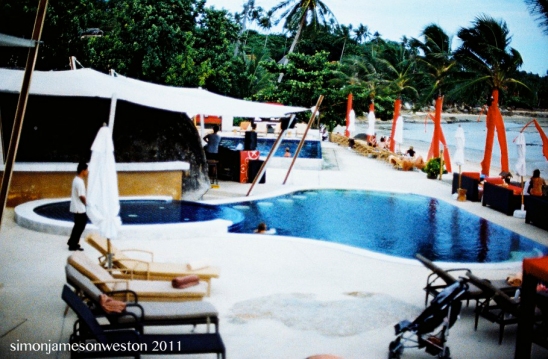
I don’t have any great overview shots of the beach front – but this is a general one with crossed Elite chrome on my Nikon f2A.
This next one is the same time and place but with the new Kodak Portra 400 in the Nikon and a polarizing filter on a 50/1.2.
These come out so crisp that you would be forgiven if you thought I was using a digital here but this is a camera from 1971 using a manual 50mm lens and no flash to fill in.
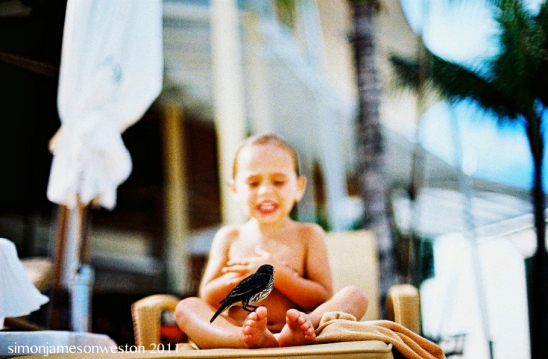
The final one from the Beach Republic has a bird that had stunned itself by flying into a window, recovering on Lola’s foot before flying off again. Whilst we were in Samui, Lola got up close and personal with stick insects, a few frogs, a praying mantis, baby geckos and this small bird and showed no fear with any of them. She has also learnt to talk to dogs and introduce herself first as she understands that some dogs can be a little “grumpy”.
The next place that I would recommend for a visit is again a hotel that has some day facilities (restaurant, pool etc) but unfortunately is bang in the middle of Chaweng Beach and is called The Library.
You probably won’t recognize the place from my photo, as the pool is actually tilled bright red and the colour scheme throughout the loungers and umbrellas is blocks of red and black. Any flight to Samui is going to have you seeing this place in the inflight magazines with great colour photography of the pool that had me kicking myself that I was only carrying my R2A and a whole collection of B/W films to choose from.
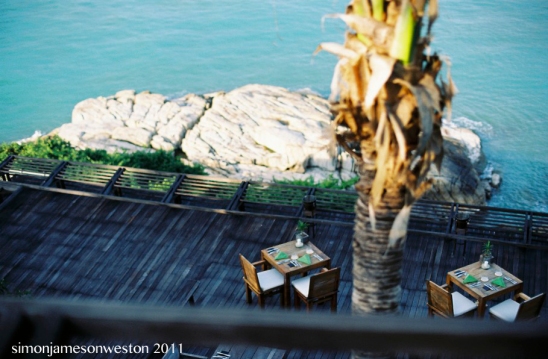
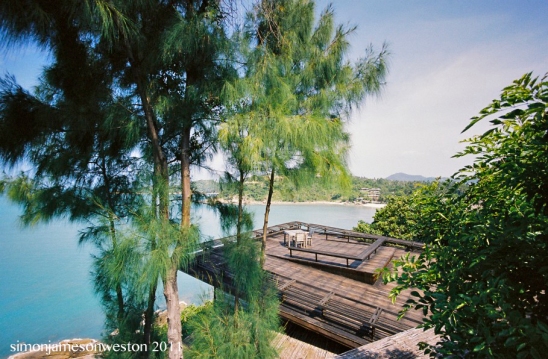
The winner of the most photogenic restaurant goes quite obviously to the “On the Rocks” at the Sixth Sense. Unfortunately it also wins the biggest disappointment award for food that promised so much but delivered so little.
The views from the tables on the off-set terraces are stunning and the dinning experience is meant to be very separate and private – unless of course it rains – and then you will be shepherded into the total inadequate tables, crowbarred into the areas under the magnificent decks.
From a food point of view – the menus you can choose from are all taster menus for a deconstructed style of food – unfortunately the complexity of these is far beyond the ability of the foreign Head Chef and his local brigade and so you are likely to be either scared or disappointed by the unmanaged complexity of each dish.
If I was asked for my opinion on this restaurant, I would be conflicted in my view, as the setting is amazing and on a clear night the evening is truely memorable but the food is too expensive for it to be so bad and this is why it is the most dissapointing of restaurants.
South China Morning Post
The main english language paper for Hong Kong is the SCMP and the Sunday edition is very like any English paper with the Sunday Supplement.
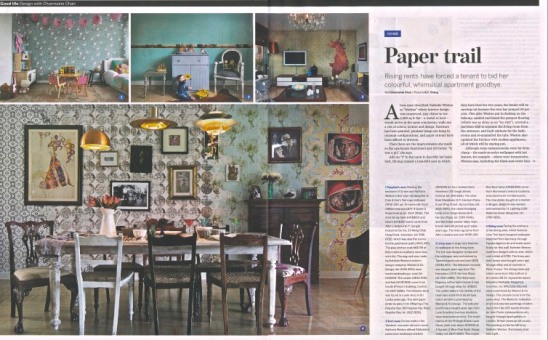
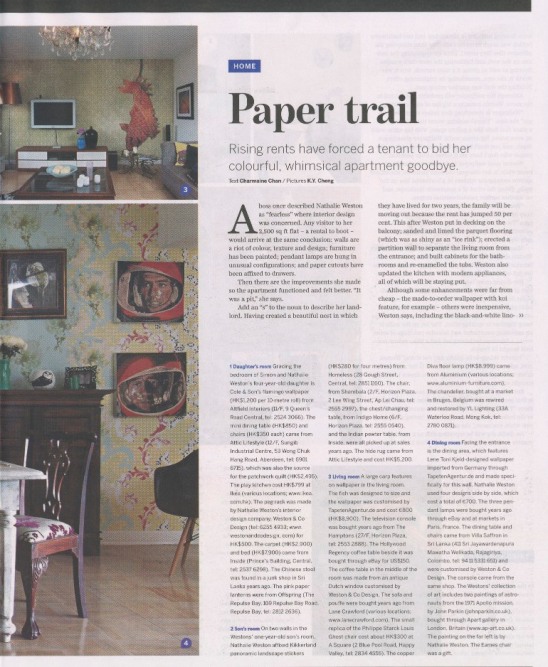
One of the mainstays of the supplement is the Design/Home section that features a home/flat that is almost always a owner occupier and not a rental as was ours; and so having been in Elle Decoration a couple of months ago, it was also in the SCMP today.
I am afraid the scans are composites and the paper is not glossy and so the saturation/definition is not fantastic – but great to get Nathalie’s business in another National magazine. I have also split the main spread into two images as it is just too large to get a readable image without blowing my file allowance.
Return to Film – Black and White Film
This is the third and final part of the Return to Film series that looks at film types.
Having already covered Slide and Colour Film this is obviously going to cover B/W film and like the other two articles it is going to be quite specific about which films it covers as this blog has no aspirations to become Wikipedia.
I am sure I have said before that when it comes to films, you really need to have a go at anything and everything to see what look you prefer and what works best for your style of photography but that at the end of the day, there are only three companies that produce outstanding ranges and quality of B/W film and they are Ilford, Kodak and Fuji.
Rollei makes some good B/W film that would fit into the arty category of film; Shanghai and Lucky make cheap film of very varying standard, Lomography use other peoples films and rebrand in this case Shanghai GP3 as their own and there are other smaller manufacturers that just don’t have a competitive film to compare to the big three.
Before I talk about films by type then, it is worth just going back into the make up of B/W film.
I guess from a chemistry point of view, this is the simplest film type to understand as the film is basically made up only of three layers;
An emulsion of Silver Salt in crystal form, a layer of plastic (commonly acetate or PET) and an Anti Halation layer.
The Silver Salt Crystals absord light when exposed and in development the crystals that have been exposed to light will turn to silver forming the black part of the negative and then when fixed, the remaining silver will be removed exposing the clear film – that will become the shadows in the positive image.
The size of the crystals is commonly called the grain and so small grains form slow films and large grains form faster films (hence the appearance of grain in fast films and low light).
The backing of the film does make a difference as some films use polyester for the film and this has a tendency to curl when drying and makes scanning more complex.
The Anti-Halation layer is to capture light that passes through the film, hits the back plate of the camera and bounces back to hit the back of the film. If this was to get through, you would get a halo style effect on the image that makes it look foggy. Films like the Lucky B/W films have almost no Anti-Halation layer and hence the image will never be crisp.
Some films have such strong layers that rinsing of the film is necessary until the bath is clean of the obvious pink dye used in the layer.
As perviously done in this series the following films are split into my view of what is Slow, Medium and Fast films.
Slow B/W Film
This is a massive category as Ilford produce some great very slow films at 50 ISO, Rollei do a 25 ISO film, as well as the 100 speed films from all the makers.
I’m not going to talk about 25 ISO film however, even though I have tried a few of them without any great results but will start with the amazing Pan F Plus 50 ISO film from Ilford.
This is a film for bright days and fast shutter speeds for me and produces a middling contrast level when developed in Ilfotec DD-X or T-Max Dev.
For older film cameras where the shutter speed is limited to 1/400th or 1/500th at best, this film helps make them usable in bright conditions where you don’t want to stop the lens down completely.
Ilford produce this film in 35mm and 120 but unfortunately not in sheet film. I have found as the summer has become brighter and clearer in Hong Kong this year that I am going to this slower film more than even the normal 100 ISO choices I have in the past and especially as this film tends to develop easily and be pushable to +3 without too much loss from grain size increases.
At 100 or there about, the choices for great film for me are; Kodak TMax 100, Fuji Acros Neopan 100, Ilford Delta 100 and Ilford FP4 125.
Fuji Acros Neopan is my all time favourite film at 100 ISO for outstanding sharpness, one of the best grains of any B/W film available and great contrast levels.
The following two images are from cameras that don’t excel in their ability – the Holga and my old Ukrainian Kie 4AM and still this film looks amazing. I think you can throw this film at any situation and even any developer and still always get consistent results.
I know many people will argue that the best film for 100 ISO is Kodak TMax – but the exposure range on this film is much tighter than the Fuji film.
I would say that this is as wide a use as the Ilford Delta 100 but with better grain and contrast.
Kodak TMax 100 is a film I have used a lot over the past 6 months with some pleasing results but I always choose the Fuji Acros in preference unless I cannot find the film in shops (which tends to happen more often with Fuji than Kodak here in HK).
Ilford Delta 100 is a film I have only recently started to use and am happy with the results – but again don’t think it shows anything in results or flexibility that Acros doesn’t.
In fact the grain is generally larger when rated like for like with Acros.
Ilford FP4 is rated at 125 and so many people would call this a Medium Film apart from the fact that it has very small grain and can be pushed and pulled by a number of stops.
It is not as fine as Pan F 50 or even Acros 100 or TMax 100 but for general use in good lighting conditions is not far off.
Development of this film is again easy in many chemicals and the contrast levels as medium like the other films at this speed.
For Slow Films there really is such amazing choice amoungst the big three producers and I haven’t even mentioned all of the slow films these companies do – so you don’t need to really look at other films – but having said that, it is sometimes great to have something different in your camera and for that I would pick Shanghai GP3 100 which is available in HK as either Shanghai GP3 or at a higher price you can buy the same film repackaged for Lomography B/W 100 film.
If you have a camera with a red window for the film counter (an older 120 film for instance) then you will struggle to read the numbers on the backing sheet of this film as they are really poorly printed. I think it is worth persevering with this film though as it gives slightly higher contrast levels than the other 100 films, is really easy to develop and gives a very distinctive grain.
These images were taken on the 1980’s Chinese folding camera, the Hong Mei hg-1 on 120 Shanghai GP3.
Medium Speed Films
Medium speed in B/W for me is really just 400 ISO.
The only 200 film I know of is the SFX 200 from Ilford that is an extended range B/W film that you need to use in conjunction with a Dark Red filter like the Hoya R72 – to get Infra Red style images.
As the filter is almost black – you either need an off camera meter or to take readings through your TTL meter before adding the filter. You also will be unable to see to focus so you either don’t bother and shut the lens down and focus at infinity or do this before adding the filter.
With the filter in place you need to rate this film at +6 or even +7 – so that is ISO 12 or ISO 6 and only use it on a bright & direct sunny day with lots of green foliage that will turn white on the film for you. (Perhaps this should have gone in the Slow Film category).
I have tried this film on 35mm and 120 across lots of cameras and can honestly say that constancy is not something you get with this film. For home developing I always use Ilfotec DD-X for best possible results and am very careful about storage of the film.
The below two images are from a Holga where electrical tape and guess work were employed to get this and my Mamiya MSX 1000 where the image was rated at ISO 6.
At 400 ISO I have tried Ilford HP5, TMax 400 from Kodak and Fuji Neopan but end up going back to using Tri X 400 from Kodak for the simple reason that this film is the best to develop time after time. It pushes well as a film, the grain is not too much although contrast increases at a scary level when pushed + 2 or more.
HP5 is the favourite film of many home developers but I really have never found a way to make it work without an orange tint unless I use the very expensive Ilfotec developer.
Tri X is a versatile work horse of a film that requires little attention from you and is very forgiving if your metering is a little out. Shadow density is all you have to meter for with this film as highlight density is something you can adjust digitally or in developing if you are not batch processing.
The below three pictures were all taken on the 6×9 Fuji GW690II and the first one is on TMax 400 with the next two on Tri X 400.
And finally Fast B/W Film
There are films like Ilfords Delta 3200 – which is actually a 1200 ISO film and I believe TMax do a film rated at 1200 but again this is a one horse race until stock run out with the Fuji Neopan 1600. This film was discontinued in November of last year and so the thing to do here is go and buy stock whilst it is still is readily available and the prices haven’t skyrocketed and then put it in the freezer for a few years.
Daylight and with flash, this film works really well and with sufficient light does not suffer from too much grain.
Before I finish this small review of part of what is currently available for B/W and what works for me (and not necessarily for you); I should also mention the Ilfod XP2 and Kodak BW400CN – which are both B/W films that are made to be developed C41.
Before I started to develop my own film I did occasionally use these films as B/W lab processing can take days and is generally not of a very high quality due to the reusing of developer in the machines.
Now I develop my own film and due to the fact that these two films are not ever great to look at, I don’t use them any more.
I would also say that on 90% of the lenses I use with B/W I do use an Orange filter (not yellow) to improve contrast. On the couple of lenses I own that can’t use a filter at all, I don’t think I notice too much loss in contrast and nothing that a tweak in aperture won’t fix.
As this is only a slice into the world of B/W film, I know I have been sometimes quite generalist in my views but I think that the more pictures I take the clearer I see the options on film.
I am finding that instead of keeping a host of different film, I am keeping more of the same and so to finish this last of three articles – here are my picks for all types of film that cover for me every possible use I have from architecture to portraiture and from street to family;
Colour Reversal
Kodak E100G
Kodak EliteChrome 100
Fujichrome T64 Type II
Colour Negative
Kodak Ektar 100
Kodak Portra 400 (New Version)
Black and White
Ilford Pan F Plus 50
Ilford FP4 125 (for use in 4×5 sheet film)
Fuji Acros Neopan 100
Kodak Tri X 400
Fuji Neopan 1600
One Year of Digital to Analogue on WordPress
One year ago today I moved here to wordpress from .mac and during this past year have posted a few hundred times to a growing number of readers.
Have I written things that are interesting, funny or perhaps occasionally smart – I don’t know – but they are never the less read.
Not knowing though is what I love about blogging as I am writing for myself and in the same way that a diary works, I am recording what is relevant or important at a point in time to me and also like a personal record, I don’t have deadlines.
It is difficult not to think “I wonder what people would like to read next” and occasionally get asked to write about a particular camera but generally I find this has become more of a personal project than I thought it would when I started out.
It is also becoming more about the Analogue options we have in a world that is fast being taken over by what we are constantly told is a brighter Digital future.
Art, books (made of paper) as well as film cameras are creeping onto this blog as I find the Digital options thrust at us are less and less interesting.
I had a colleague at work ask me the other day if I had bought an iPad2 for my children yet as they thought it was a fantastic learning tool for them…..My kids are 4 and 1 and make-believe lives in their minds and not on the tablet at their age. Is the iPad the new baby sitter – taking over from the TV?
But don’t get me wrong, I am not anti Digital in any way. I am writing this on my MacBook Pro, store my negatives digitally on Aperture 3, use Photoshop, an iPhone and am constantly plugged into my nano when out running.
The difference is that where I get to make a choice; I like to take the slower and often more interesting option.
If I have time, I prefer to walk to a meeting rather than take a car. I prefer to go to a gallery rather than watch a film. I prefer to have dinner with friends and take all night rather than grab something quick.
For me the Digital to Analogue is a description of a lifestyle and so year two is going to have more of what surrounds me and not less.
More cameras, film, development and of course large format. More analogue lifestyle too and of course more family.
Cheong Mon
Cheong Mon is one of the out of the way beaches that surround Koh Samui as it sits up on the East side of the spike that comes out the top of the Island.
Small when compared to the Chaweng beach front; that has become for Samui what Kuta is for Bali; it has a great sweep of white sand and small beach front hotels and restaurants that make for a better family beach.
There is also far less swell in the Ocean and so for little ones this creates a better option; especially as it was a 10 minute drive from the villa we were staying in.
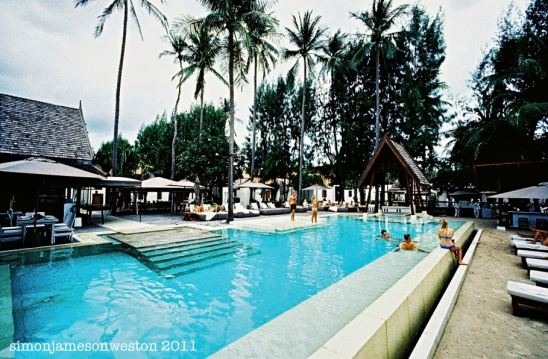
Like most beach front hotels, the one below called Sala has a pool that although you should be a resident to use, we found that if you had lunch of dinner at the adjoining restaurant, then they really didn’t mind if the kids spent the whole meal in the pool.
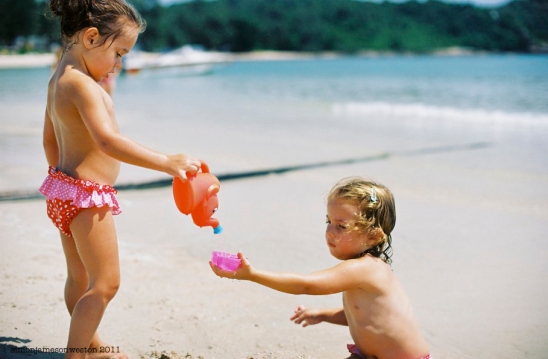
I think we spent about half of the holiday on this beach as it was just so easy and unlike the Railey peninsula where I lived for a while, this one doesn’t have long tail boats on the beach and so it is just a completely quiet experience.
Although I am not wanting to turn this blog into a guide book – I am still going to do another couple of articles about Koh Samui as much as an excuse to post pictures as anything else.
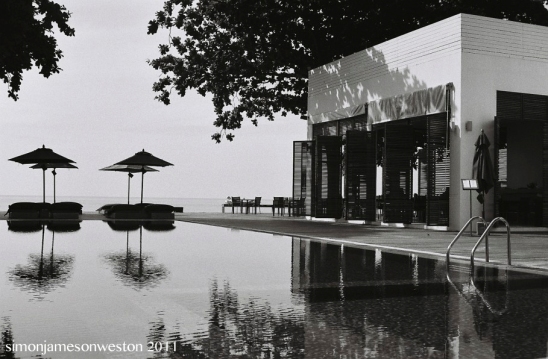
Again these were taken with either the Voigtlander Bessa L with the 15mm Heliar or Nikon F2A and 24/2.8 across a range of films.


